Mortal Shell II: Survive the Return to Outskirts of Mammon
Rebuild a safe second visit to Outskirts of Mammon by checking encounter identity, defense, recovery and route length before changing difficulty.
By Mortal Shell 2 Wiki editorial team · Last updated
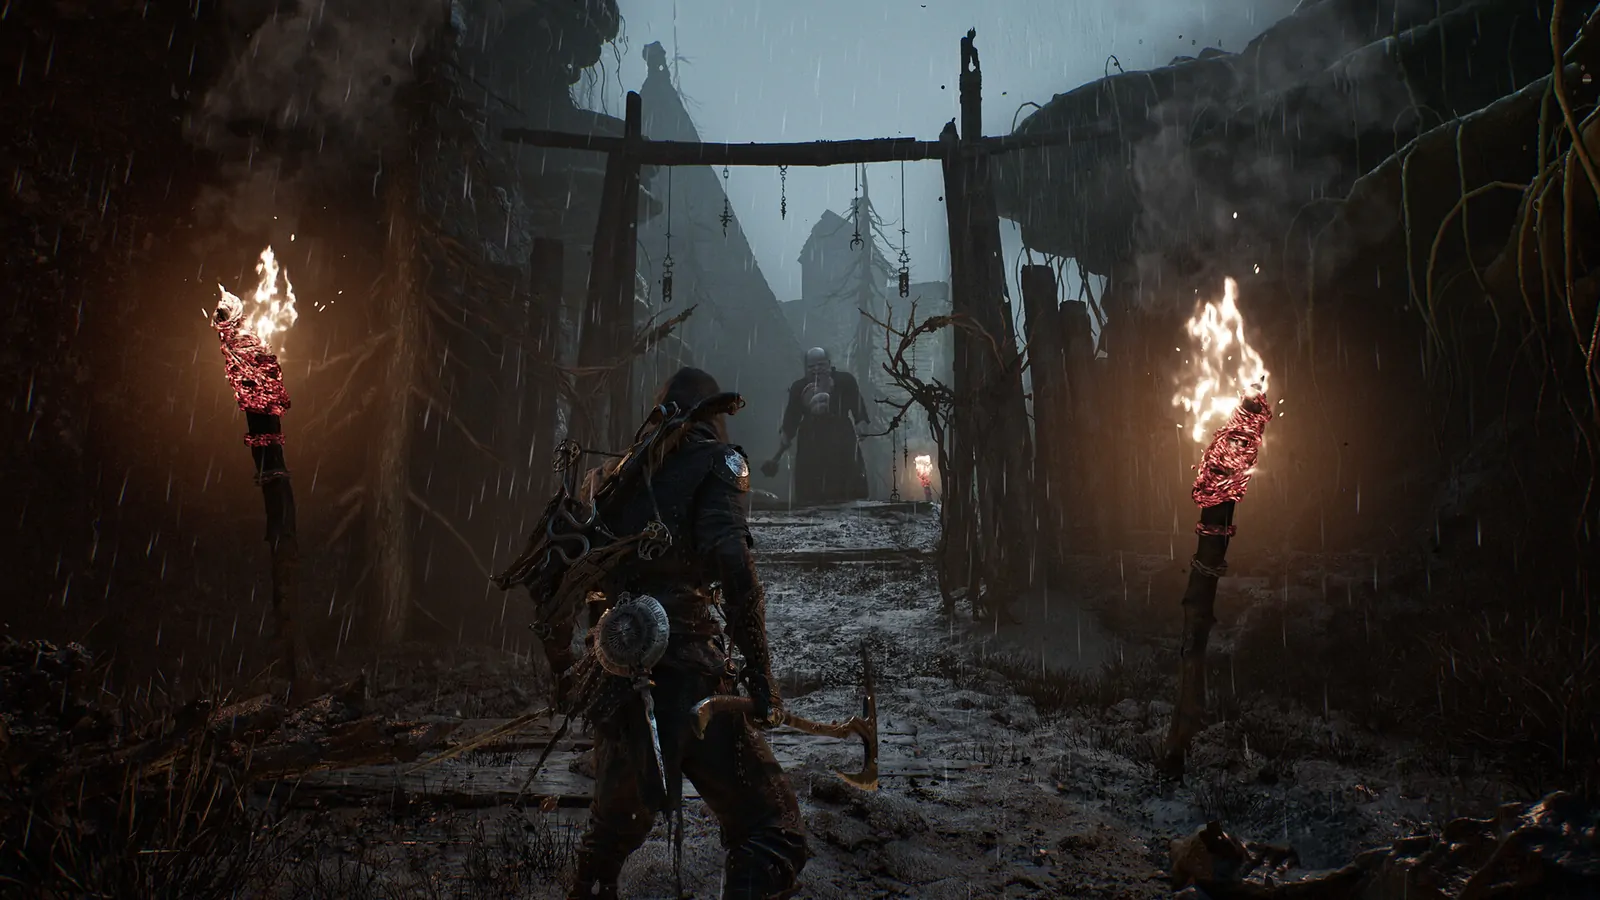
When a return to Outskirts of Mammon suddenly feels much harder, shorten the route and test the first dangerous encounter before attempting to clear the whole area again. Compare your present shell, healing supply and selected difficulty options with the previous visit. A successful boss fight does not guarantee that ordinary enemies in another area will be safe to trade hits with. This guide addresses the return journey as a survival and route-planning problem. It does not assert that entering Mammon automatically increases enemy levels, or that a particular story milestone causes a hidden damage multiplier.
Identify what changed between visits
Begin at the nearest known safe checkpoint and inspect the character you are actually controlling. Record the shell, melee weapon, equipped effects and recovery resources. A player who changed shells after several bosses may be returning with a different defensive profile even when their offensive confidence is higher. Do not rely on the impression that the character must be stronger in every respect. Compare the current equipment descriptions with the setup you remember, and separate changes you can verify from assumptions about how the world scales.
Next, identify the encounter that causes trouble. Is it the same enemy type, location and approach direction as the earlier visit? Are several opponents joining a fight that used to be isolated? A route can feel dramatically harder because attention is divided or an enemy begins from a different position. Record those circumstances before concluding that a global system changed. The aim is not to deny the difficulty spike you experience. It is to find which part of that experience gives you a decision you can improve on the next attempt.
Turn the first fight into a route test
Leave the checkpoint with one limited objective: reach the first threatening enemy and see its complete attack sequence. Keep the approach clear enough that you can distinguish its motion from nearby pressure. If another opponent joins, stop treating the encounter as a clean comparison. Reposition and reconsider how you entered the area. Pulling several problems into the same exchange makes it harder to identify which hit removed your health or why you lost control after the first mistake.
Do not take the enemy’s first visible pause as permission for a full offensive sequence. Observe whether another strike follows, then choose a short response that leaves you able to defend again. This recommendation is especially relevant when a repeated string catches you after an opening hit. The solution may begin with ending your own attack earlier, rather than finding more damage. A brief punish you can repeat is more useful for learning the return route than a long sequence that succeeds once and leaves you unable to explain the next failure.
Protect recovery from the next attack
If you survive the opening with low health, create a readable opportunity before committing to recovery. Repeatedly attempting to heal while the same opponent is still pressing can turn one mistake into the entire failure. Watch the end of its sequence, give yourself enough space to understand the approach, and spend the recovery resource deliberately. Do not assume the timing you used against the last boss transfers unchanged to this ordinary enemy. Their pressure and the surrounding space may demand a different decision.
After recovery, avoid immediately rushing back into the same sequence to repay lost damage. Reset your view and take the next exchange on its own terms. If a knockout or shell-state change occurred, confirm what tools remain available rather than automatically following a routine that depended on a previous effect. The goal is to recover a stable combat state, not simply restore the health bar. When that state is stable, you can decide whether to continue the short test or return safely with useful information.
Keep the expedition shorter than your uncertainty
Do not plan the whole return around the assumption that the first encounter will soon become easy. Set a modest destination: clear a short stretch, inspect a nearby route, or recover your understanding of one enemy. End the attempt while you still have the resources to make a deliberate decision. A familiar area encourages overconfidence, especially when you remember reaching it earlier with weaker equipment. Familiar scenery is not proof that your present route, equipment and enemy pressure are identical to the previous trip.
At each safe pause, ask what another encounter would teach. If the answer is only that you hope it becomes easier, return and revise the plan. If you have identified a specific motion you can now respond to, another controlled exchange may be worthwhile. This makes a short expedition productive even without a dramatic unlock. You are building a route you can survive repeatedly. Once the early section becomes reliable, extend the route gradually instead of using every successful opening as a reason to commit to the next unfamiliar group.
Inspect difficulty separately from route learning
Read the current difficulty-related settings and any displayed adaptive state. Do not assume that your experience proves an invisible system is enabled. If you choose to change an available option, record the original state and repeat the same short encounter with the equipment unchanged. Otherwise, a different result cannot tell you whether the setting, the shell or a better approach mattered. The dedicated difficulty guide explains the broader options; this route test only needs a clean comparison between the choices actually available in your game.
Do not interpret a single hard hit as a published enemy scaling formula. Different attacks can produce different outcomes, and the player discussion around the area contains personal interpretations rather than an official numerical rule. Preserve the useful part of those reports: returning players can find ordinary enemies more demanding than the bosses they just finished. The practical response is to respect each encounter and verify your own configuration. An unsupported explanation about automatic level increases can send you toward unnecessary grinding while leaving the actual positioning mistake untouched.
Change the shell only to solve a named problem
If the same short route consistently exposes a defensive weakness, consider another shell you already understand. Describe what you want from the change before making it. You might need a recovery pattern you can manage more comfortably, or a playstyle that discourages an unsafe approach. Do not replace the shell, weapon and every equipped effect simultaneously. A smaller change makes the next result interpretable and lets you keep the parts of the setup that already worked during the return journey.
Is Outskirts of Mammon guaranteed to scale because you defeated certain bosses? This guide does not establish that rule. Is a different shell mandatory? No; choose a change based on the recurring failure you can identify. Should you keep pushing after every resource is spent? A shorter test usually teaches more than repeating the entire route in a desperate state. Return with a clear objective, read the ordinary enemy’s complete sequence, protect recovery and extend the expedition only as its early encounters become reliable. That turns an intimidating second visit into a set of manageable decisions.